For this task we were asked to show how we can use different methods to make a photograph turn black and white, and how to use different tools to show how we can turn half the picture black and white and the other half in colour.
There are four different methods of turning a photograph black and white and from each you can then add more effects to make them stronger or weaker. The four different methods are listed below:
* Black and White
* Desaturate
* Hue/Saturation
* Channel Mixer
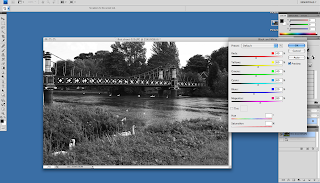 |
| Black and White Method |
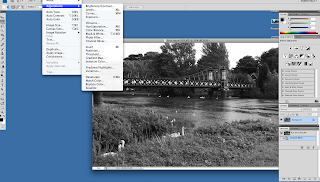
This is the black and white method that I used. This at first makes the photograph turn black and white and then you can add different effects to the black and white to make the effect stronger or weaker. For example with this effect you can change how strong the reds, blues and yellows are etc but it will just change how strong the black and white is in the photo.
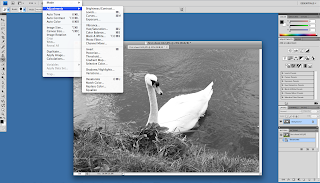 |
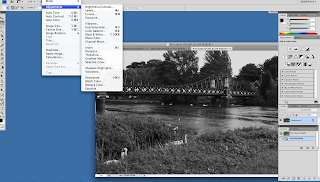
Desaturate
|
This is the desaturate method. I have only taken a screen grab of how to actually get to the menu to do this effect as when you add it, it just turns the picture black and white with no other effects to add. Hoever you can access the different effects and add them as another layer to the desaturated picture.
 |
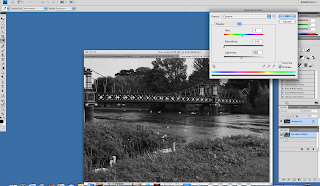
| Hue/Saturation 1 |
 |
Hue/Saturation 2
|
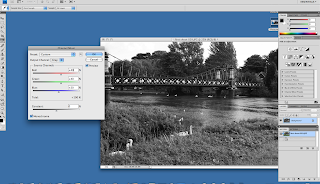
This is the Hue/Saturation effect that I used on a photograph. As you can see this effect also turns the photo black and white. With this effect you can also change the hue, saturation and lightness of the photograph to create different effects within the photo. This is one of my favourite effects because you can make some strong dark effects on most pictures.
 |
| Channel Mixer 1 |
 |
| Channel Mixer 2 |
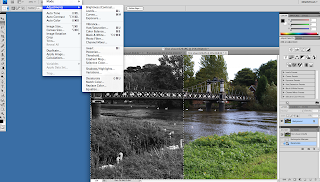
This is the channel mixer effect. This is also a very good effect for getting different shades of black and white onto a photograph. Before you do anything with this effect the first main thing to do is tick the monochrome box. By doing this it will turn the image black and white straight away. This method of black and white can also be played around with to add different shades to the photo. By doing this you can end up with some interesting results for certain areas of the photo.
 |
| Half Black and White Half Colour 1 |
For this task I was also asked to use a picture and make half of it go black and white and keep the other half in colour. So by doing this i used the crop tool to select half of my image that I wanted to turn black and white as shown above.
 |
| Half Black and White Half Colour 2 |
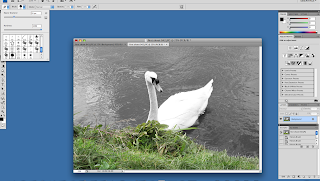
After I had selected what part of the image I wanted to turn black and white I then clicked on image, adjustments and then desaturate because i just wanted the part I had selected to be straight black and white with no other effects. This then turned the part of the image I had selected black and white with some good results.
 |
| Part of Picture in Colour |
This effect that I used was slightly more complex than the other effects that I previously used. I was asked to use an image and then turn only part of the image into colour and then leave the res black and white. For this firstly I had to turn the picture black and white so that it added into the history box in the bottom right hand colour of the screen grab. Again I used the desaturate effect to turn the image black and white. After this I then clicked on the history button from the tool bar on the left hand side. I then selected the size of brush I wanted and then quite simply clicked and dragged over the area i wanted to turn back to colour. So I wasnt adding colour I was simply returning the image back to it's original state manually.
I feel that this task went well as I understood everything I was told and I managed to undertake the task fully understanding what I needed to do and how to do it. If I was to do this task again I would be more adventurous and create more different effects using more advanced tools to create more interesting results.
D1


Impressive evaluation of the task set Chris, you obviously understood how to use the tools and have shown this through your work. The tools are very basic but can have a dramatic effect on the images you chose to use them on, especially when adjusting the different tones of the image which you have shown :)
ReplyDelete